Yay! Another super easy, super quick, and super cute project makes the Nikki, In Stitches Top 10 Countdown! I did have to give you a better picture than the ones in the original post. (Santa, thank you again for bringing me a new camera. How did I ever think those pictures were acceptable??) This little flower can go anywhere…on a card, atop a wrapped package, in the corner of a picture frame, maybe even on a pinback.
Enjoy…again!
Nikki, In Stitches
********ORIGINAL POST********
Ruched Ribbon Flower
September 12th, 2009
 Last week at my monthly quilting class, we were taught how to make ruched flowers. They will eventually find their way onto yet another Christmas quilt that I have started (pictures coming soon…I hope!). We made them with a strip of fabric, and because of possible fraying, had to do a few folds to hide any raw edges. The whole time I was thinking I could definitely come up with a better, easier way to make these. And of course, I was also sitting there wondering what else I could use them for. It hit me last night. Why not use ribbon? No folding necessary since there are no raw edges to hide! I played around with some pink and green ribbon, my two favorite colors,
  and that led me to the very large stash of pink and green papers that I have accumulated, and before I knew it, I had a cute card with a ruched ribbon flower embellishment. (Don’t you love when you find a completely different purpose for your newly found favorite technique?) Below you will find a tutorial on how to make the flowers. Feel free to ask any questions, and if you can think of any other uses for these goodies, please share!
Enjoy,
Nikki, In Stitches
Materials:
36″ of 5/8″ wide ribbon
Needle
Coordinating embroidery floss (1 strand) or any heavy thread that will not break when pulling to ruche ribbon
*Note: I used black embroidery floss in the pictures below so it would stand out.
Directions:
 1. Mark the wrong side of your ribbon, moving from right to left. Along the bottom edge, mark every inch. Along the top, first mark 1/2″ in, then mark every inch the rest of the way across. If you’ve done this correctly, your marks should be evenly staggered the entire length of your ribbon, as shown in the picture provided.
 2. With a long piece of thread (approximately 36″), hand baste from mark to mark, creating a zigzag pattern, stopping occasionally to gather (“ruche”) the ribbon. Stopping every eight to ten inches to gather your ribbon is recommended. Any longer and you risk breaking your thread. Also, put a hefty knot at the start of your thread so that as you pull to gather it doesn’t pull through your ribbon.
 *The trick to the hand basting is to be consistent in your stitches. If you look at the picture provided, I always do three stitches along each diagonal, and I was always sure to start by inserting the needle from underneath the ribbon and to end with the needle coming out the top. I found this method made it easiest to gather the ribbon.
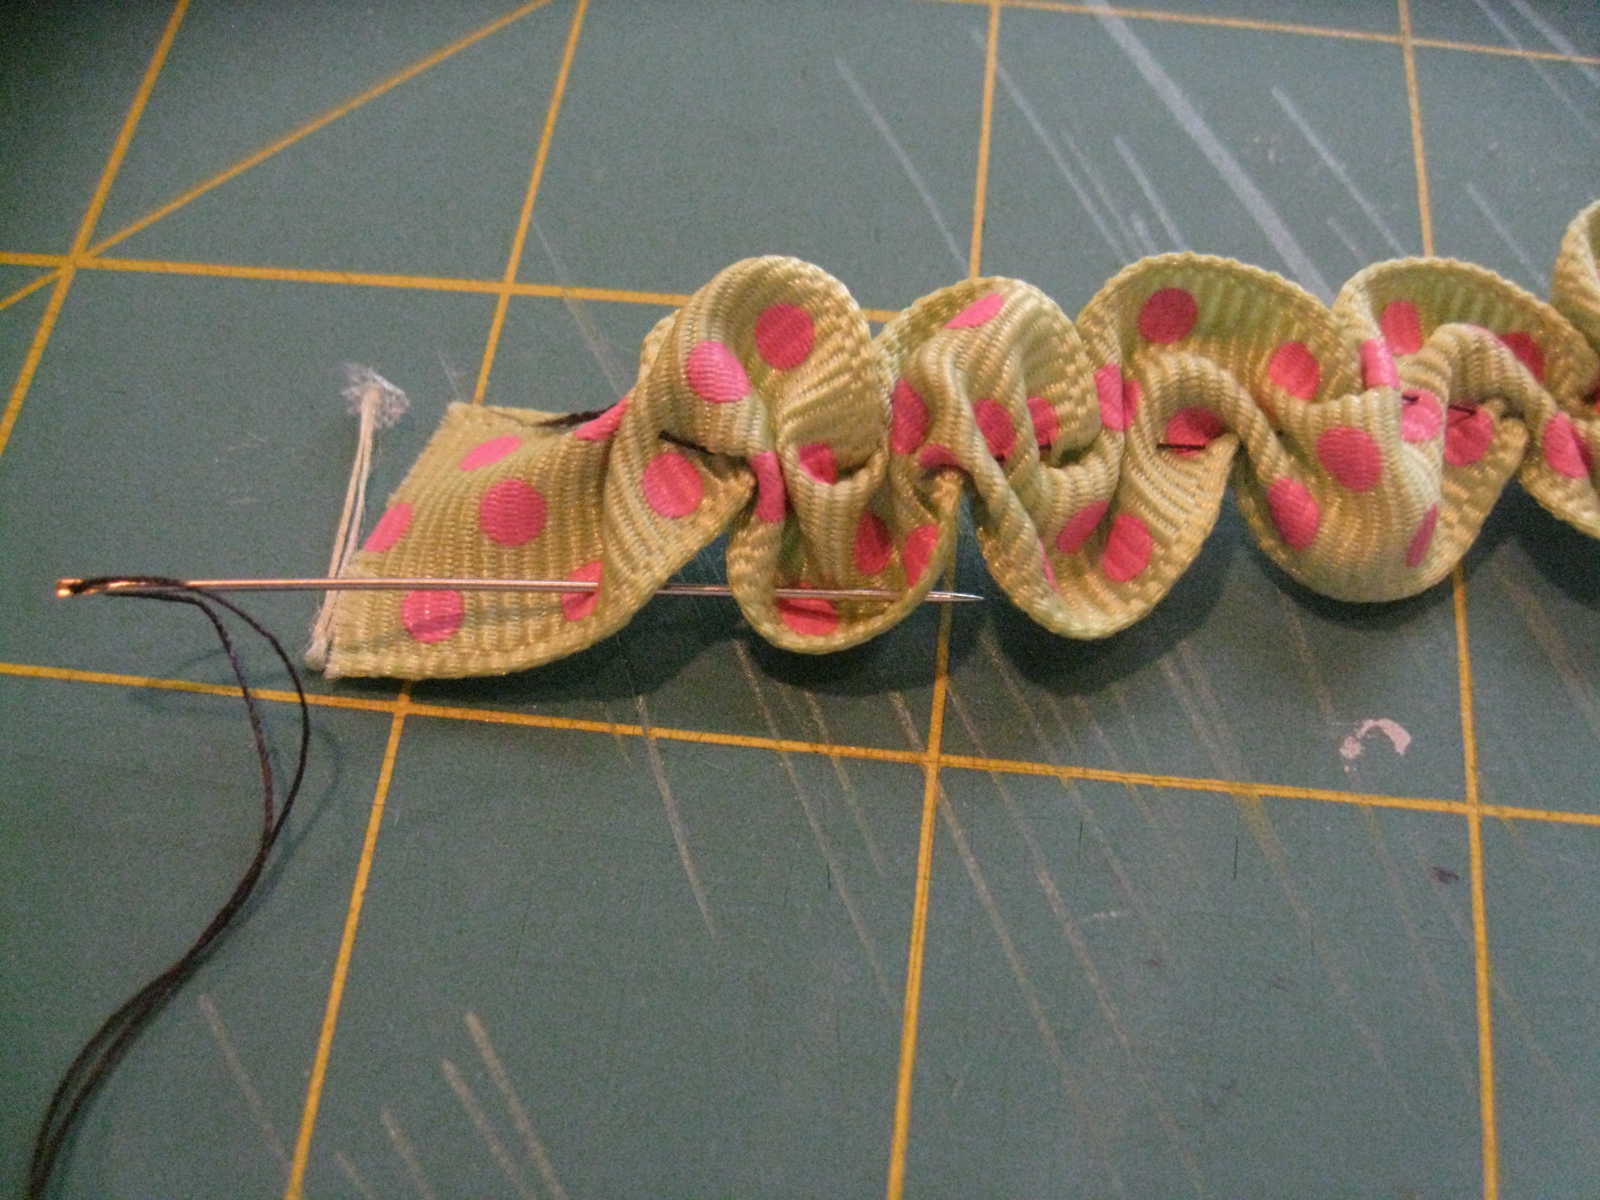
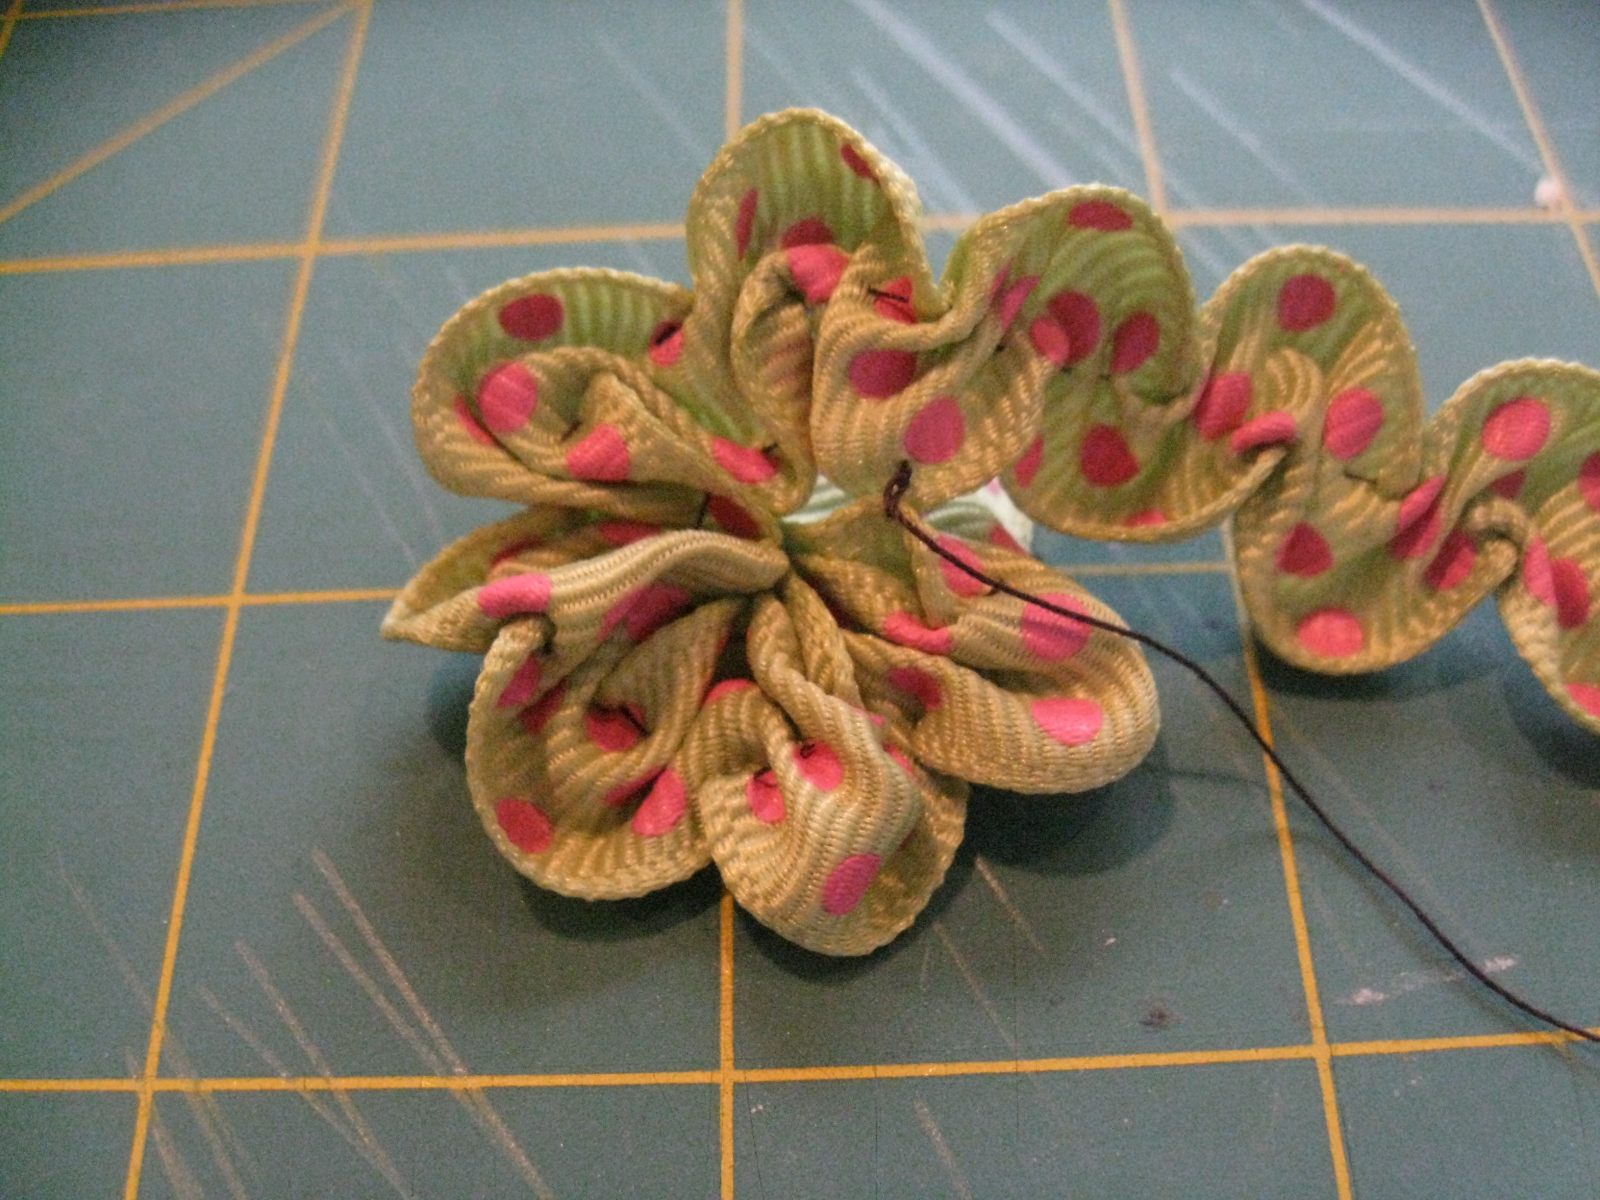
5. Pull the thread tight to form a circle of petals. Knot the thread, but do not cut it, to hold the center loop of petals in place.

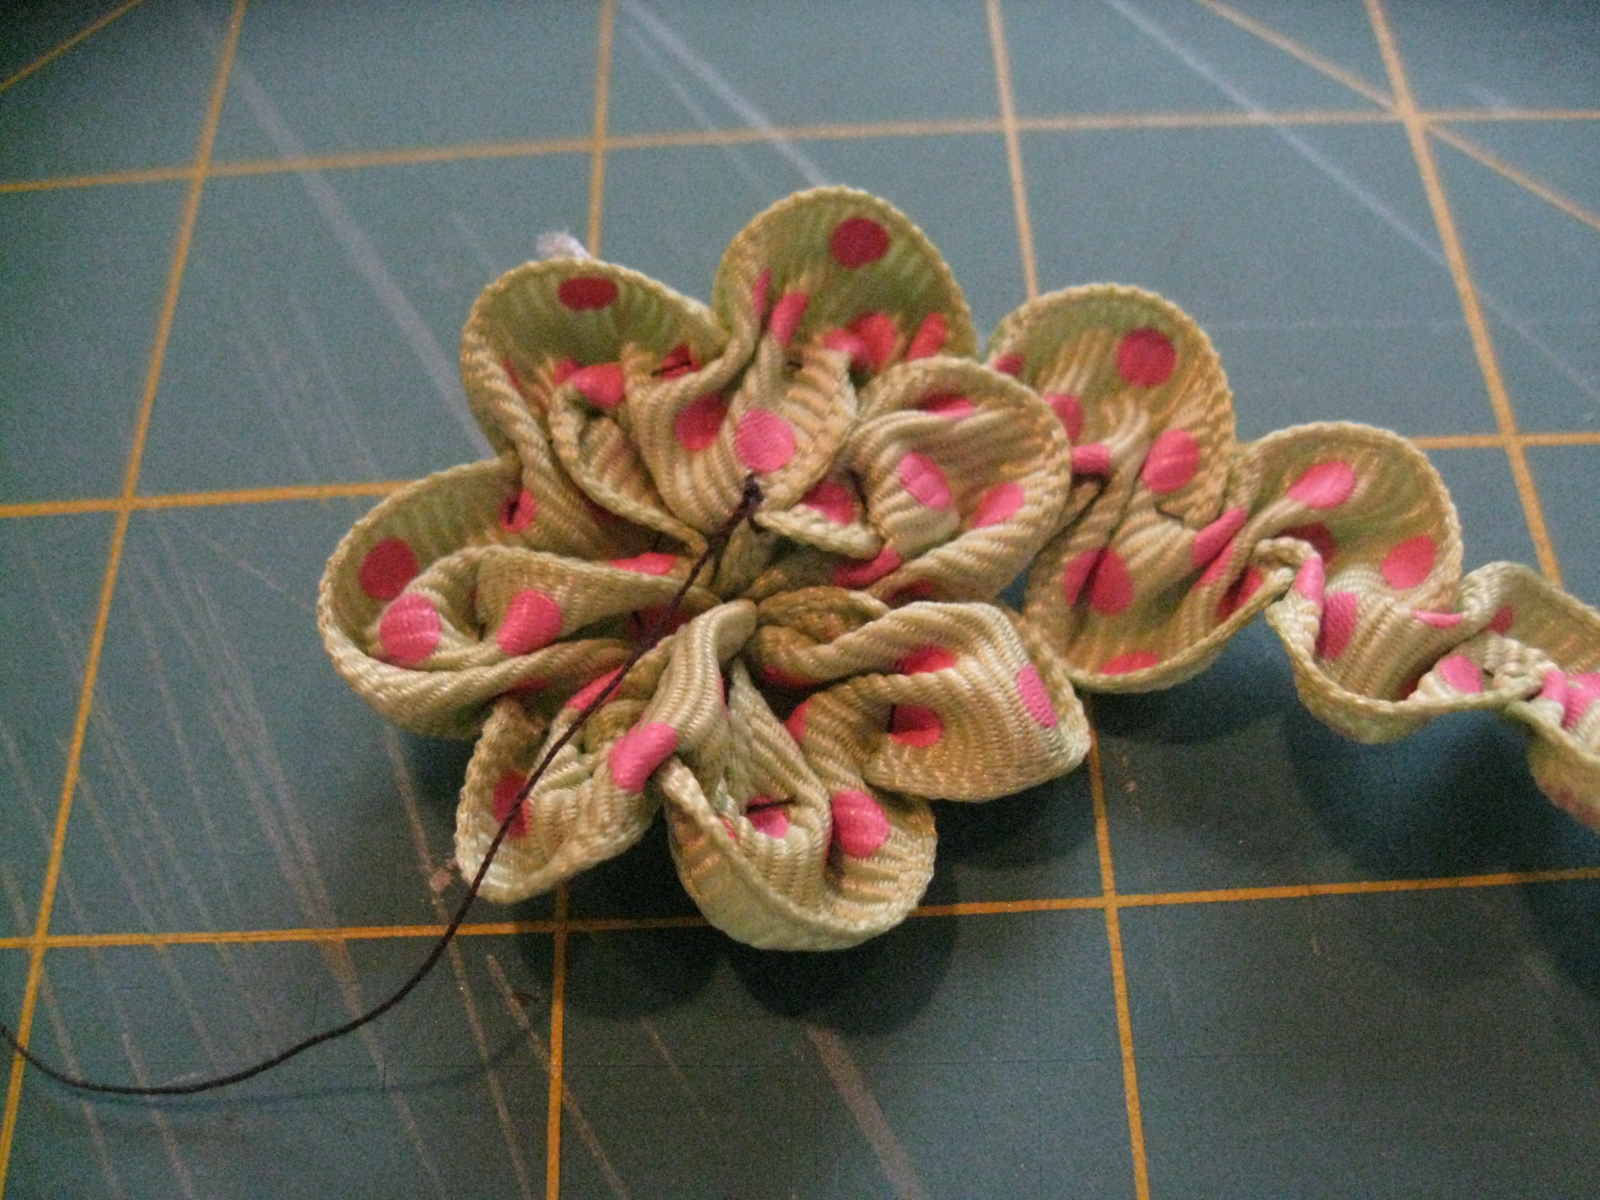

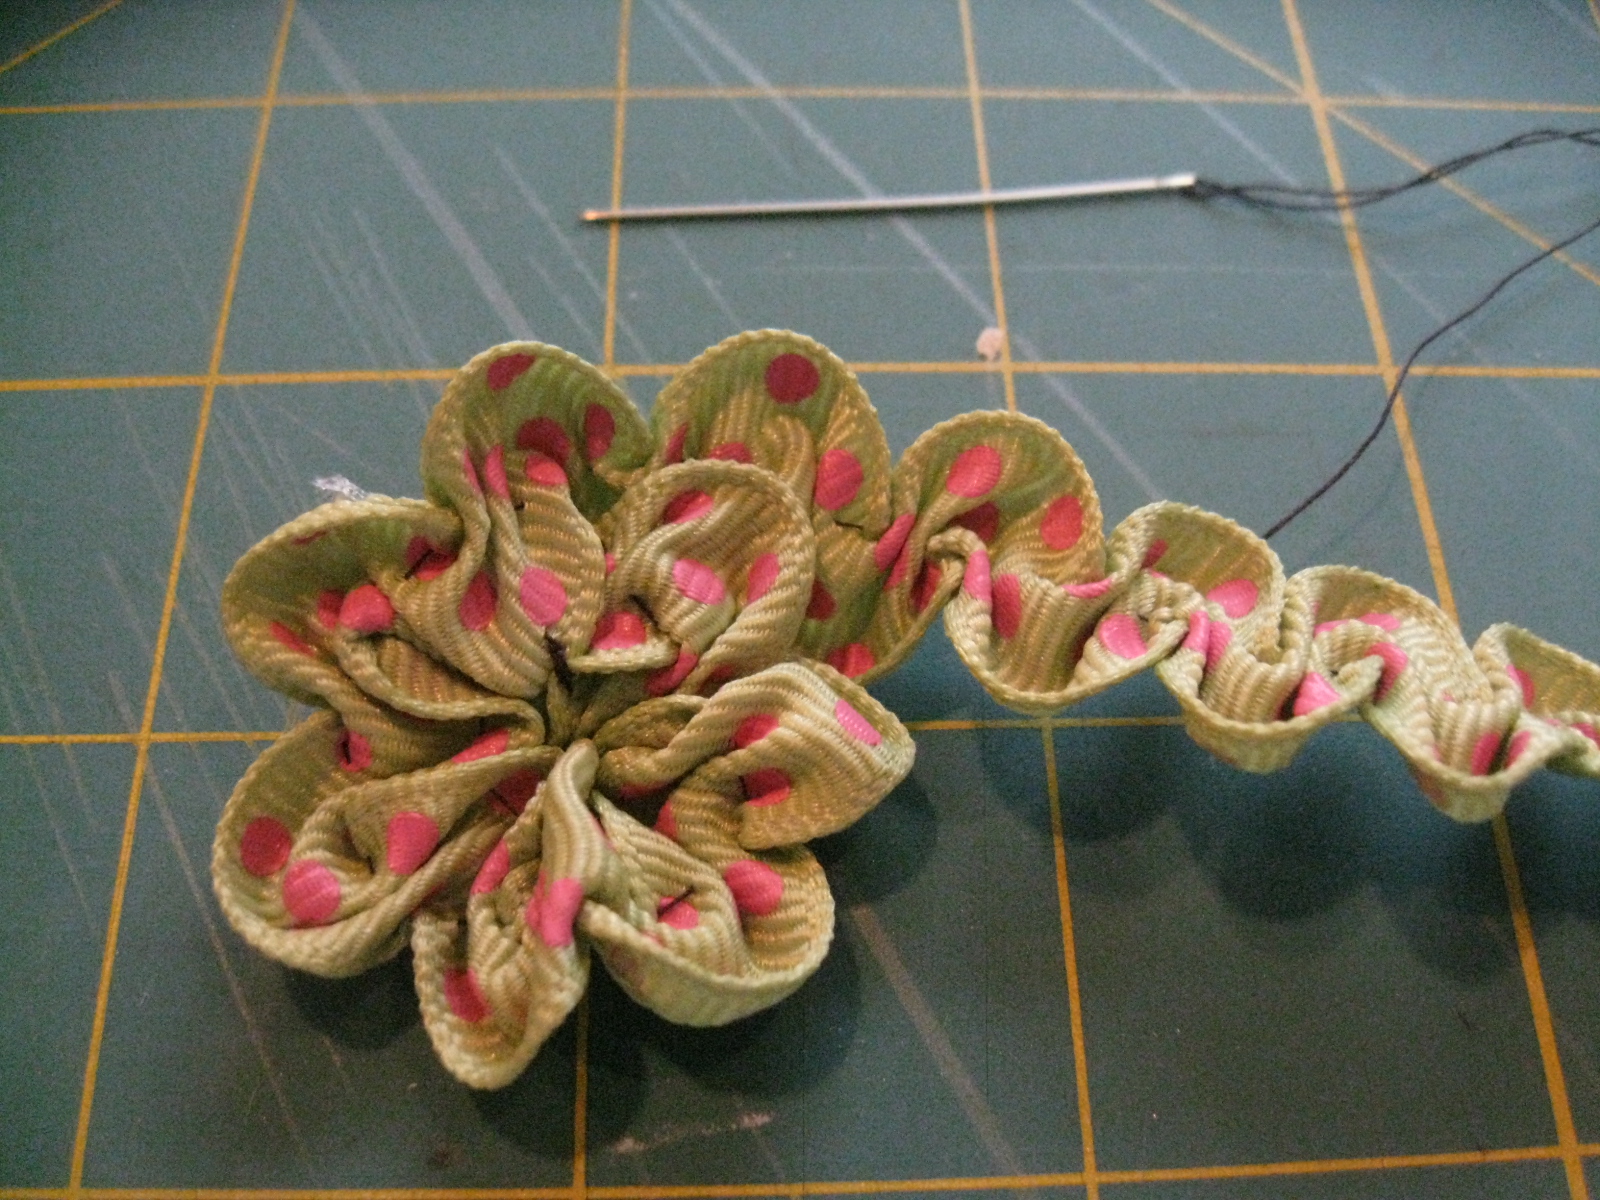

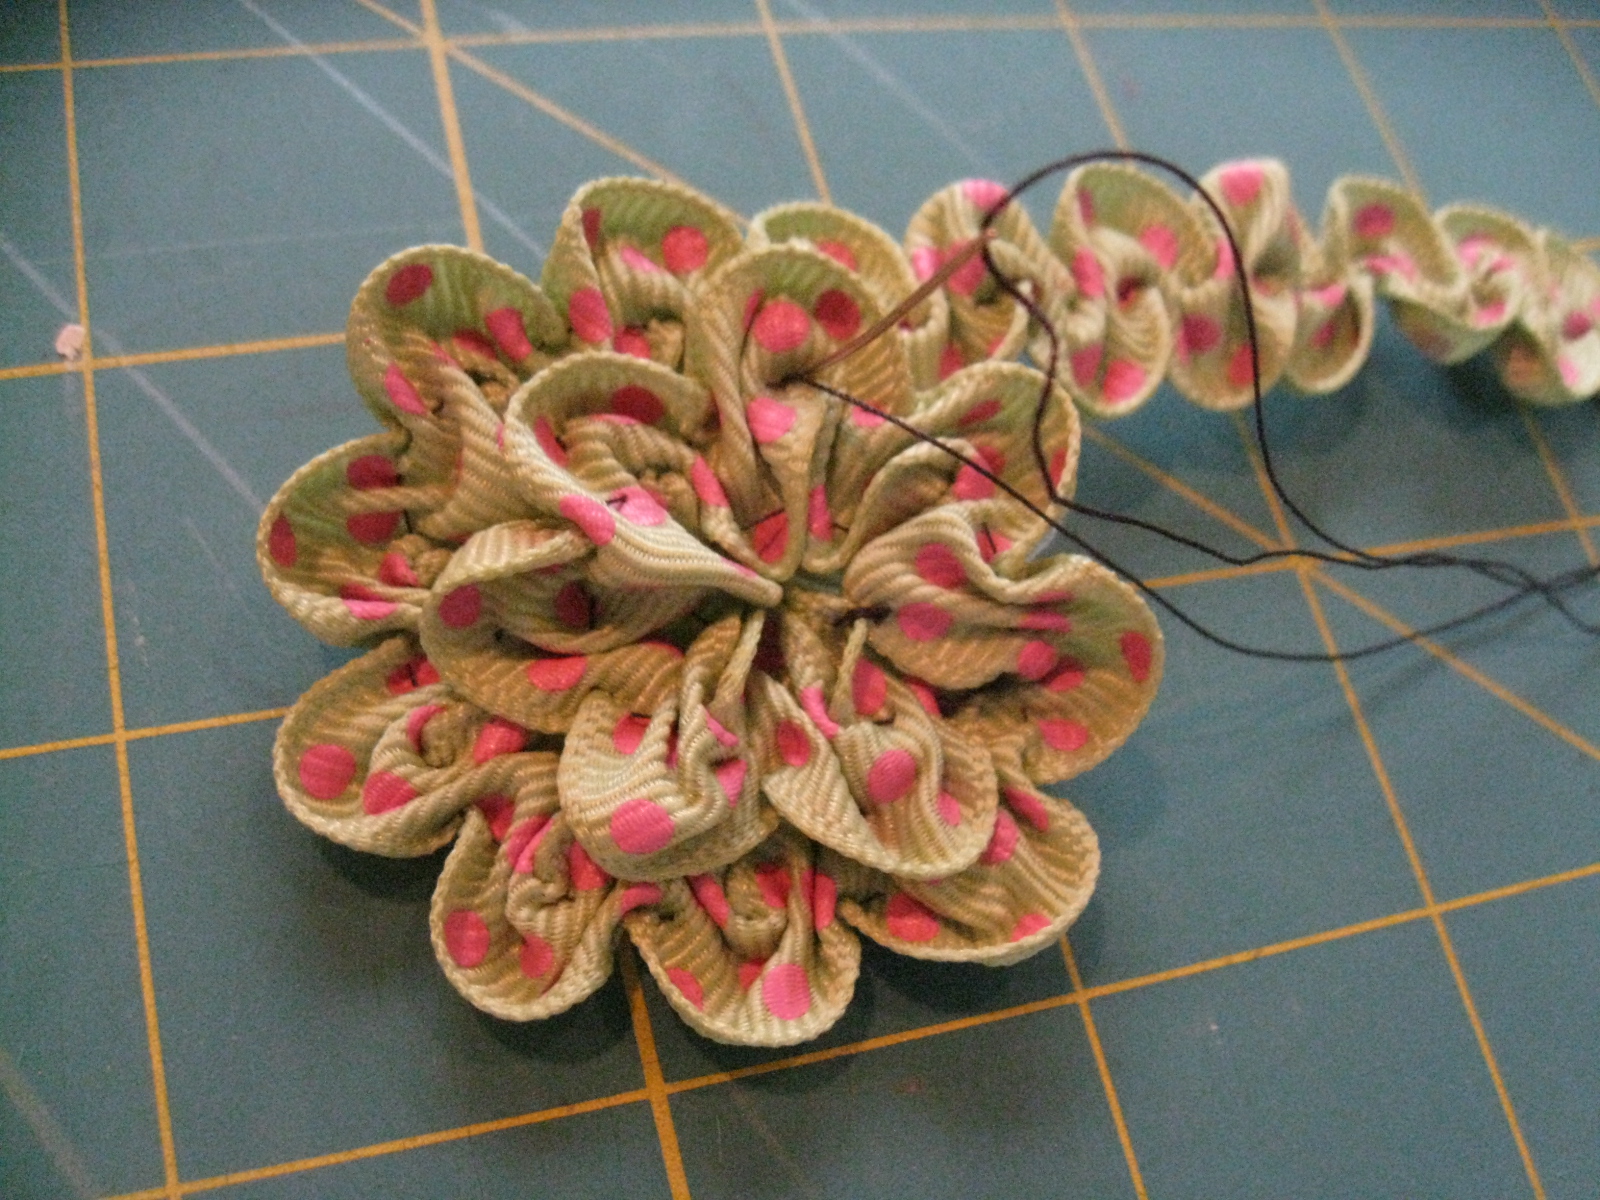
 9. Continue until you have tacked the entire tail in place. Take a few extra stitches on the back of your flower to hold your ribbon end in place. Knot and cut the working thread.
 10. Knot and cut the gathering thread.
 11. Embellish center with a button!




I love your ideas! Every time you manage to surprise me again, and I love it!
Thanks:)
shared wit my friends of FB
coucou ma nikkie comment vas tu plus de nouvelles j espere que ça va bien
ta fleur est superbe je mets ton lien sur mon blog bisesssssssssssssssssss
(Hello! How are you my Nikki? More news…I hope it goes well.
Your flower is beautiful. I put your link on my blog. Kisses!)
thank you for sharing!
Looks like a fun little project! Thanks for sharing
Fabulous!! Nikki, I have two words for you: a book. Really!!
This is so awesome! It is exactly what I’ve been looking for! Thank you so much for sharing!!
My pleasure, Lee!!
I made this flower tonight. Your instructions were right on. Everything went smoothly. This is going on my suit jacket tomorrow. Thanks.
Yay, Grace!
Send us pics!
XOXO
This was so easy to make, thank you for your easy to follow instructions!! I am making these into hairbows for my babygirl:)
Yay, April!
Please send pictures of your hairbows! We’d love to see!!
This is a beautiful flower! Thanks so much for sharing. Im gonna try one tonight…
My pleasure, Lisa!
Let us know how it goes!!
Can you use a different size ribbon? Also, how big is the one that you did above?
Ginger…Absolutely!
I’ve played with ribbons of every width and weight, and love the different textures it gives to the flower.
This is the perfect stash buster…use up all those scraps of ribbons you can’t bring yourself to toss!
The one above is maybe four inches wide???
But if you use different ribbons, it will vary!
Thanks! I’m going to try this tonight to put on one of my covered diaper wipe cases!
Yay!!
Send pics! We’d love to see!!
Thank you for sharing it with us, it’s beautiful! I will surely try this now.
My pleasure, Violeta!!
nice sharing..
very details..
thanks sis