
You guys! They did it!
Nope, this is not a post about yet another picture wall in my house (although I will be providing yet another tip I have for creating one! They are absolutely the easiest way to fill a large space that you are struggling with.)
This is a post about color matching and how Sherwin-Williams (I am not an affiliate, just forever grateful) literally saved my sanity.
If you follow me on Instagram you saw this pic a few weeks ago…

Take a second to re-read that caption, and raise your hand if you can sing along with what I wrote.
I am a serious believer in #DIYTherapy. SERIOUS.
Unfortunately, as a serious believer sometimes does, I jumped into this project before I really took a look at what supplies I had on hand and neglected to see that I was missing only like THE MOST IMPORTANT PIECE…PAINT!
I happily DIY’d my stress away…removing nails, spackling, and sanding.
I took a break for a nice, hot cup of coffee (see pic above) and then touched up with some sandpaper any little spots that were still left rough from the spackle.
My stress however hit a high when I went through the stacks and stacks of paint cans I have stashed in my basement (again, raise your hand if you have paint cans from three wall colors ago in a closet of your house. I have absolutely no idea why I keep these!), and couldn’t find the color I needed.
I went to every paint store I could get to, poured over the name of every shade of green, and nothing jumped out at me. Usually I can remember what paint color we used if I see it. This time…nothing.
I was not going to repaint this entire room.
I was not going to repaint this entire room.
I was beginning to think I was going to have to repaint this entire room.
I’m pretty sure the guy at Sherwin-Williams could see that I was about to burst into tears in the middle of the store, when he suggested that I shave off a little bit of paint about the size of a quarter and they would match it. My hopes were not high, but the room is huge (with tons of trim that would need to be taped and cut in) and I was ready to do anything to avoid repainting the entire thing.
And you guys! They did it!
It is literally a perfect match.
Can you tell from the picture which walls I painted? Nope! Of the five walls you can see in that top picture, only two were redone.
And now that the frames are all back up and and the pictures inside have been updated with fresh prints of my kiddos, I am much less stressed. #DIYtherapy success! Ha!
OK…before I go…(yet another of) my tips for a great picture wall:
Spacing is KEY!
Here’s a close up picture of one of the walls…notice anything consistent throughout?

Maybe this will help…

The spacing is (almost) consistent between every frame. Of course, to fill the wall there will be times when the frames will have to be a bit closer, or a bit farther apart, but for the most part, the distance between the frames both horizontally and vertically is the same. And yup, I even work the outlets and switches into those measurements if I can…the whole thing just seems to fit together better that way.
One last fun note…the other side of this room just got a makeover of its own. I shiplapped an entire wall (and part of a closet…pictures to come). As I was working, I thought it would be fun to let my boys leave their “tag” under the pieces of wood. (Truth: I totally stole this idea from my brother-in-law, mentioned in my previous post.)
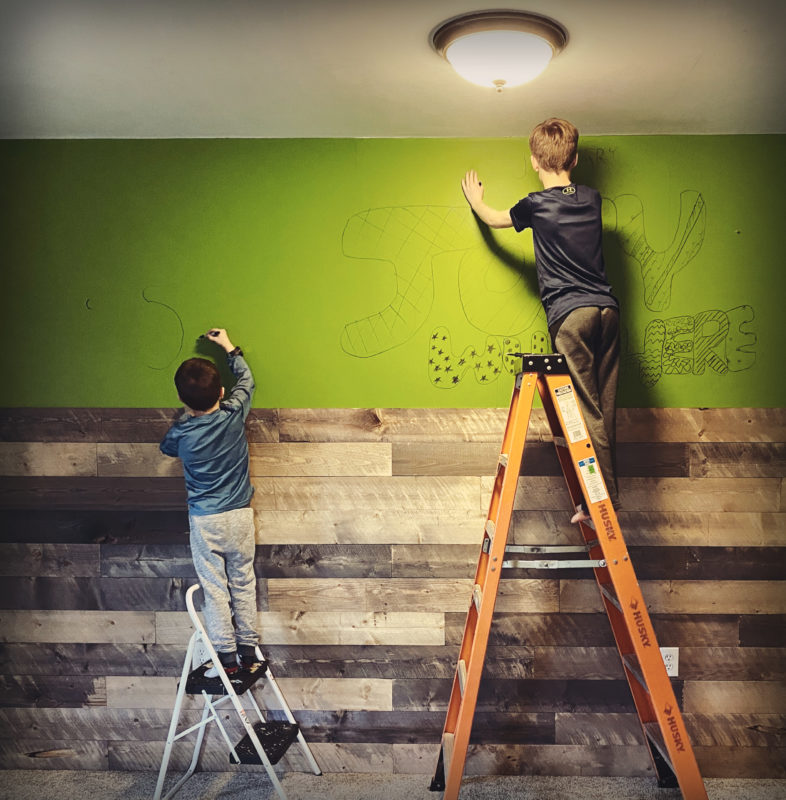
You never know where the story of our home will go, how it will end, and who may one day stumble across the adventures left behind by these two boys.
XOXO,
Nikki, In Stitches


Leave a Reply