Two summers ago, before life seemed to come to a screeching halt and COVID shrank our world down to whatever we could fit inside our four walls, my husband and I took our little family to England for what ended up being the most amazing eight days of our lives.
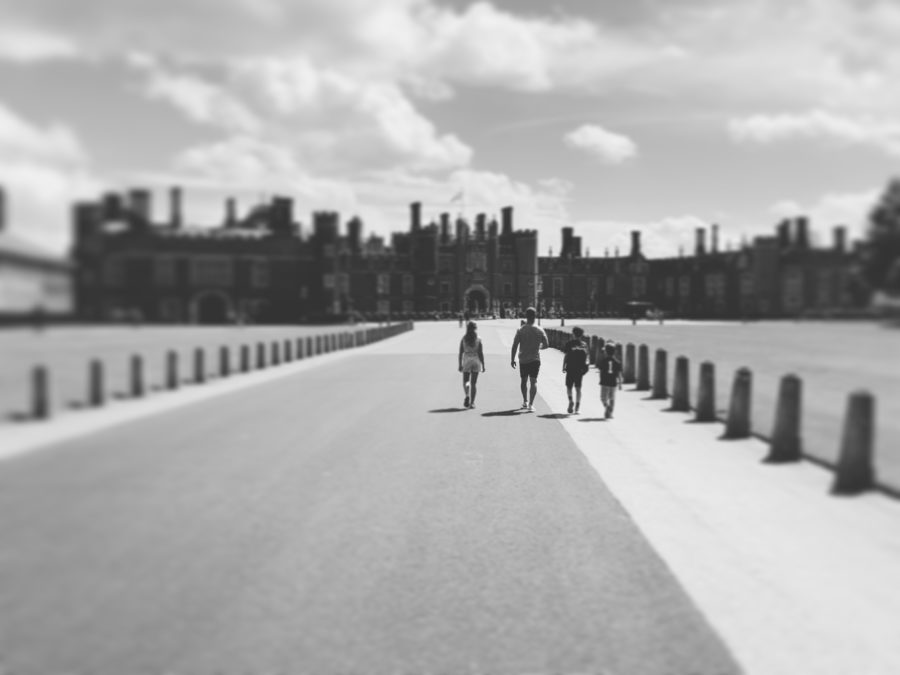
Of all the pictures we took on the trip, the image above always seems to rise to the top of my list of favorites.
My husband and my children, my whole world…looking like they have Hampton Court Palace all to themselves. Ha!
Of all the places we traveled to that week (including a crazy 19 hour “day” trip to Paris where we prided ourselves on not taking a single Uber…we walked to every destination!), this was my favorite.
There is something magical about Hampton Court. There are so many stories there, so much history…almost too much to really be able to absorb in one visit. I wanted to go back the very next day and redo the entire thing, but we were headed to Warner Bros. Studio to check out all of the Harry Potter exhibits and I was quickly outvoted.
Even now, more than two years later, I still vividly remember so much. And aside from all of the obvious history that happened there (can you ever really get enough Henry VIII stories?), the architecture and decor are worthy enough on their own to have had an impact on me.
So it seems fitting that my first big project in the new house is inspired by all that I saw there. The ornate woodwork and moulding, the gold picture frames hanging on the walls, the scale of those two things together…all of that is the foundation for a gallery wall that I’ll hopefully get started on next week.

I always start big projects like this with a sketch that is (whenever possible) to scale. It allows me to clearly see how everything is going to fit together, and also helps me calculate how much wood I’ll need more accurately.
I’m tackling this in stages…we’ll start with the trim and paint, then move onto the frames and how I’ll hang them.
A few things to consider if you’re coming with me to Stage 1….The picture frame molding.
- Paint the wall first. It’s a lot easier to get a good base coat before you put the trim on there!
This wall is going to be an accent color. As you know, most of the first floor of the house is now Alabaster. I’m thinking this is going to end up a dark gray…I’m still deciding on exactly which one. - Make things easy on yourself. Have the proper tools ready.
I’ll be using my nail gun for this for sure. I have a DeWalt, and it is a game changer. It’s battery operated, but not too heavy, and it has a safety so it only fires on contact. (Take a peek to the right. I always have DeWalt tools linked in the sidebar. They are my fave…and I’m not sponsored by them or paid to say that. I seriously just like them that much.) I’ll also be using a laser level for this. Again, a game changer. Invest in the right tools…you’ll thank me later. - Take your time. You’re going to enjoy this project for years to come…why do you think it should be complete in just a few hours?
Figuring this one out has taken me a lot of years (more than 40! LOL), but it literally changed my life. I don’t rush through projects anymore. I give myself the grace to take my time and enjoy the process. I have confidence that I have the patience to figure out solutions to whatever problems may come my way. Go in with this mindset and if you need help…that’s what I’m here for!
Look for sneak peeks and videos in my usual spots (Insta, Facebook and YouTube), but I’ll also be posting more specific details here, too!
XOXO,
Nikki, In Stitches


Leave a Reply